Getting Started
Need help installing LeadHootz? Check out this video that explains how to download and install LeadHootz.
You can use LeadHootz to publish and promote messages, increase brand awareness, engage with your audience, and generate leads. With LeadHootz, you can manage multiple LinkedIn, Facebook and Twitter accounts from one place.
The core functionality of LeadHootz is driven by schedules. A schedule is a task responsible for performing a set of actions in a particular sequence, this sequence of events comprises what we call a campaign. A campaign can comprise several schedules that require, as a starting point a prospect list schedule. After the prospect list schedule has been created, optional schedules such as invite, follow-up, follow-up 1st connections and auto-responder can be included.
Here are the basic steps for getting started.
Connect your social media account
No matter what you decide to do with LeadHootz you will need to first connect either a LinkedIn, Facebook or Twitter account.
To do this, click the 'Add Account' button for the social media account you wish to target:
Decide who you want to target.
Deciding who you want to target can help you to decide what type's of schedules you will need to use and how you will need to use them.
As a general rule:
Use existing connections / prospects if your aiming for a quicker "turn around" on lead generation.
Pro's - These are prospects you already know; some level of trust might already be established, making it easier to convert to at scale.
Con's - You run the risk of engaging with existing clients and persons of non interest and it doesn't encourage growth of new prospects within your social media account.
If you decide to do the above, you will need to use the Follow Up 1st schedule (LinkedIn only).
Since the first step will be to create a prospect list, click the image below to show how this is done.
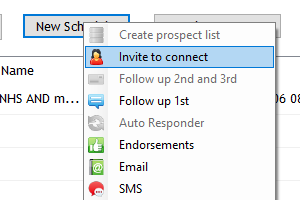
Create an invite schedule
If your targeting new prospects (2nd or 3rd connections in LinkedIn terminology) then you will need to create an invite schedule. An invite schedule determines the amount of invites (taken from your prospect list) that should be sent each day. It also lets you control what hours they should be sent between, the duration between messages sent, what days and the message itself.
The example below demonstrates this step.
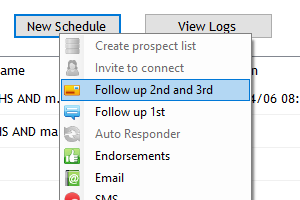
Create a follow-up schedule
The final requirement, needed if you plan to start an engagement activity with the prospect is to add a follow-up message. This is the message that your prospects will be sent after they have connected.


